How to Configure Servosity One File Backups

Remember those days that sent your file spiraling into the abyss if there was a crash and you did not manually hit "save" every so often? Thankfully, the common feature of automatically saving your work helps protect you from that heartache and hours of trying to recreate the file from memory. Servosity One File Backups take it a step further by backing up those files on an scheduled basis. If a file is lost, corrupted, or accidently deleted, we can bring it back from a point in time that it was working (no tissues necessary). 

Creating a File Backup Account

  1. Select the Company that you are wanting to backup
  2. From the Company Dashboard select the green Add Backup Account:
  3. This will bring up a "Type Dropdown" select which type of file backup you want (Standard, Professional, NAS) 
    • Standard - File Backup for Desktop OS
    • Professional- File Backup for Server OS
    • NAS- Non-local File Backup 

      Please note that OneDrive is not supported with File Backups. However this can be accomplished with an M365 Backup
  4. This will prompt you for the machine's name. 
  5. Select your Retention and add any applicable notes that may be needed for this machine.
Note: Increasing retention beyond the default of 1 year will increase the cost of that account

Select Create Backup Account.

Provisioning a File Backup


In the Partner drop down menu at the top of the portal, select the "Agent Provisioning" page.
  1. This will display a the Servosity One PowerShell Install Script
  2. On the right side, there is a blue "Copy PowerShell Script" copy this script and run it in PowerShell on the machine you are provisioning. 
  3. Hit the blue refresh button below it after this step is completed.
  4. Your un-provisioned machine will appear below with its own button for Provisioning, select it when you are ready to provision this machine.
  5. You will be presented with 3 options for your Agent Roles. For File Backups you will only select Cloud Backup.
  6. Select the Company you created the Backup Account for in section one. In this demo we are using "Rhino Corp"
  7. Select the Backup Account you created in section one. If you created multiple backup accounts, make sure you provision each device with the correct Backup Account.
  8. After this you will be brought to a page that has confirmed your provisioning. From here you can decide if you want to return to Agent Provisioning to provision another machine or if you would like to go to the Company Dashboard to Configure your Backup.

Configuring your File Backup

After you've finished provisioning the agent, navigate back to the Company Dashboard

1. Select the Backup Account you would like to configure.

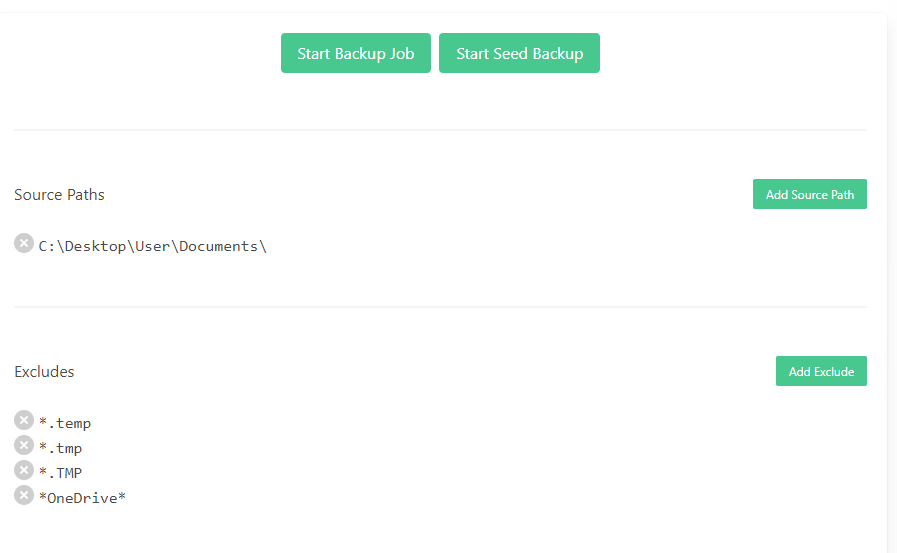
2. Select the Source Path/Paths of which files you would like to be backed up.
EX: C:\Desktop\User\Documents\ 

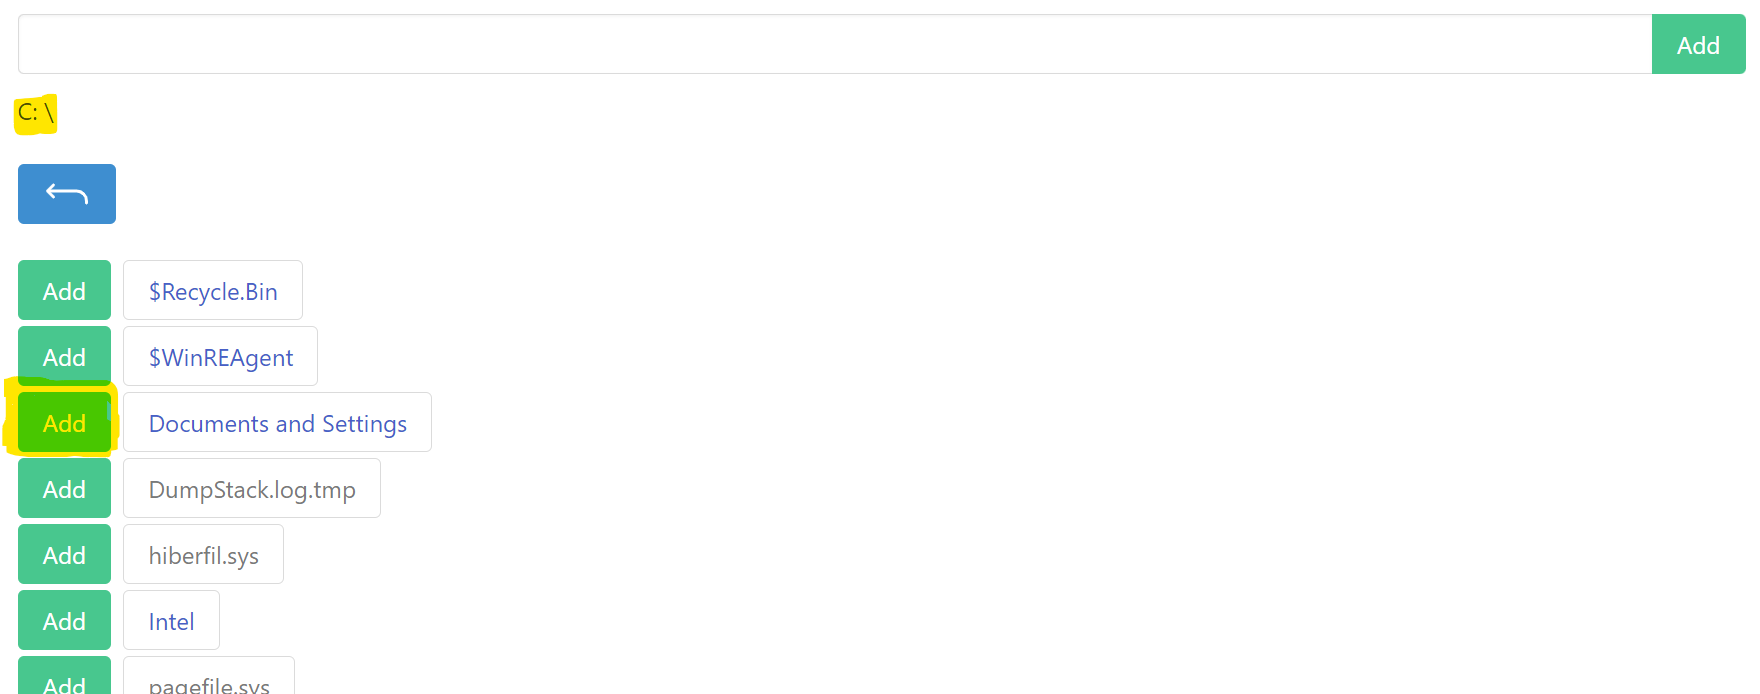
3. You can also designate more specific paths by clicking on the Volume and traversing the directories through the interface and selecting the green add button on specific folders or files:

4. You can add any additional exclusions that you would like.

4. Select your Backup Schedule Period. After a backup completes successfully, Servosity One will wait the scheduled period before starting a new backup job.

5. Select your network credentials if the Backup Account Type is a NAS. If you are doing Standard or Professional leave it as "none".

Note: For additional steps in setting up credentials please check out this article

6. Go back to the top of this page and select Start Backup Job 


Please let us know if you need help by emailing us at support@servosity.com.