
How to perform a backup to a local destination for a Servosity Seed Load.
- Note: If you need a Seed Drive sent to you, please use the form found under the company drop down on our portal
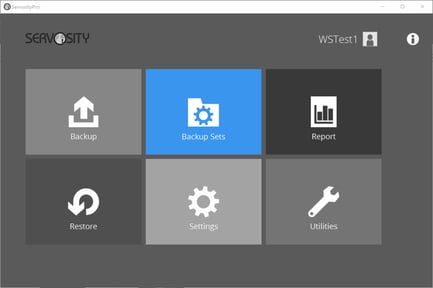
- Login to the ServosityPro client user interface.
- Select the 'Backup Sets' tile.
- Create a backup set by clicking the 'Add' icon.
- Select File Backup under Backup set type, then enter a Name for your backup set and click Next.

- Deselect any checked folders at the top of the Source page, then click, 'I would like to choose the files to backup'
- Select the files you would like to include on your Seed Load drive. If you are seeding ShadowProtect images, select only the folder where those images are stored, do not select the drives that are being imaged by ShadowProtect. Click Next.
- In the Schedule window, turn the slider to Off.
- In the Destination window, click the '+' icon next to "Add new storage destination..."
- From the 'Destination storage' dropdown menu, select 'Local / Mapped Drive / Removable Drive'.
- Ensure that the destination type is set to 'Single storage destination', then click on the 'Change' button to change the local destination path:
- Be sure to remove the Servosity Unlimited destination if it was added automatically.

- Press 'OK', then 'Next', and continue on with the backup set creation.
- Keep OpenDirect turned Off.
- On the Encryption window, if you are backing up ShadowProtect images that are already encrypted, turn off encryption in the Servosity Pro application. If you are seeding a file/application backup, you should encrypt your data with the Servosity Pro application.
Note: Make note of your encryption key. We do not have any way to retrieve or change your encryption key if it is lost. Keep a copy of it in a safe location.
Next, perform the initial backup to the local destination.
- In the client user interface, select the 'Backup' tile:

- Select the corresponding backup set for backup.
- Click on the 'Show advanced option' button, ensure that the 'In-File Delta' type is set to 'Full'.
- Under 'Destination', deselect all destinations except for the newly created local destination (if there is any):

- Click 'Backup' to start the initial backup.
- Once the Backup is successfully completed, please reply to your Seed Load request ticket to let us know. Once we've verified the backup to the drive is correct, we'll send you a return shipping label.