
In CheckCentral there is an option for more specific reports to be configured and delivered on a schedule of your choice. The configuration for this can be found under the Notifications tab in the top navigation bar.

In the drop-down menu of the Notifications tab, select Reports. On the Reports page, your current reports will be listed, as well as any of the reports that you have configured in the past. To create a new scheduled user report, select the + Add User Report button.

The configuration page for the User report is separated into 6 sections. If you would like to compile all 6 sections into a scrollable page, click on the Switch to Advanced Mode button in the bottom.
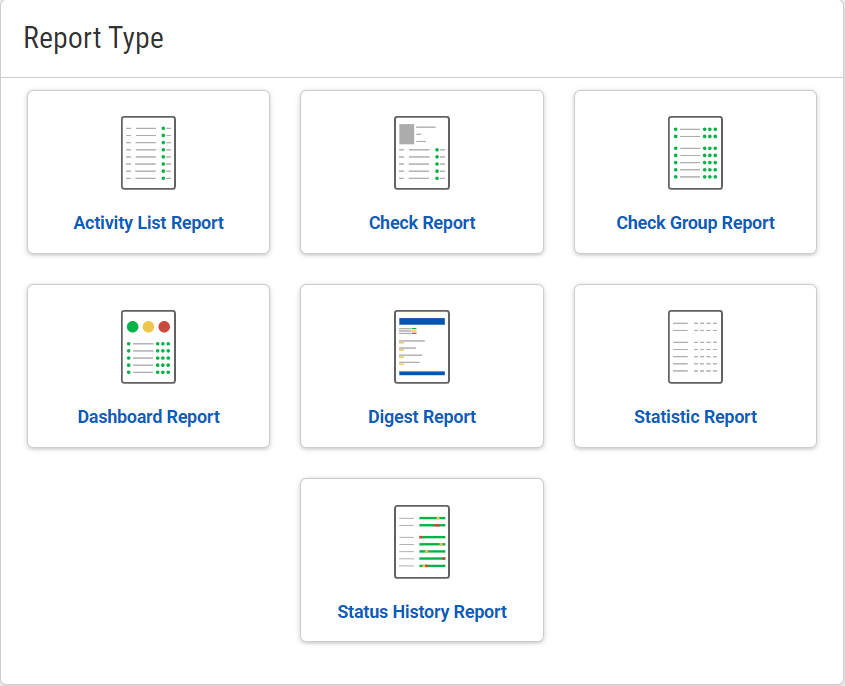
The first section is Report Type. The report type denotes the specific information that each report will detail and how that information will be laid out. We recommend the Check Group Report Type as the best for overall information and layout. However, the report type can be changed based on your specific preferences and needs. To learn more about each report type, check out our Knowledge Base Article about the features of each type.
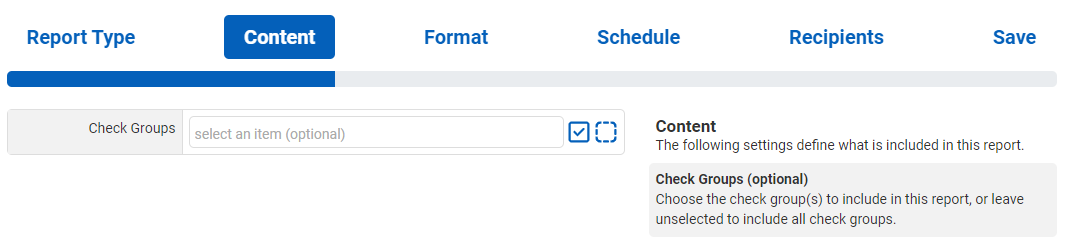
After selecting your report type, the page will automatically switch to the Content Tab. Based on your Report Type choice, the Content section will have different options. For the Check Group Report Type, simply chose the company(s) that you would like to include in the reports. If you would like information on all company(s) that you have permissions for, leave this field blank. When you are satisfied with your choices, click Green Next button in the bottom right corner.
Next is the Format section. In this section you have the ability to change the format of your scheduled report. Unless there is a specific preference, leave this as PDF. The File Name box is optional; feel free to leave it blank if there is not a particular naming convention that is preferred. Click Next when the settings are to your liking.

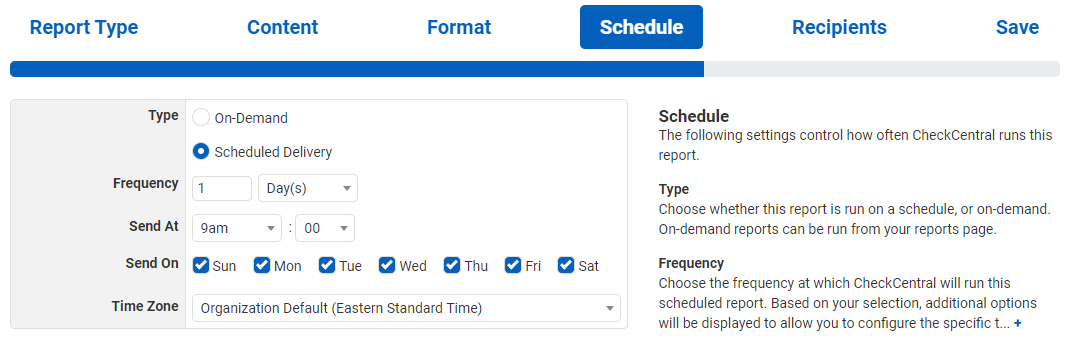
The Schedule section is where you can adjust how frequently and, at what time of day the reports are sent. Keep Scheduled Delivery checked. On-Demand only sends reports when you manually choose to send one. Change the frequency to your preference; leave it at 1 and Day(s) if you want a daily report. Uncheck the days that you do not want reports for and Select your Time zone. Click Next when you are finished.
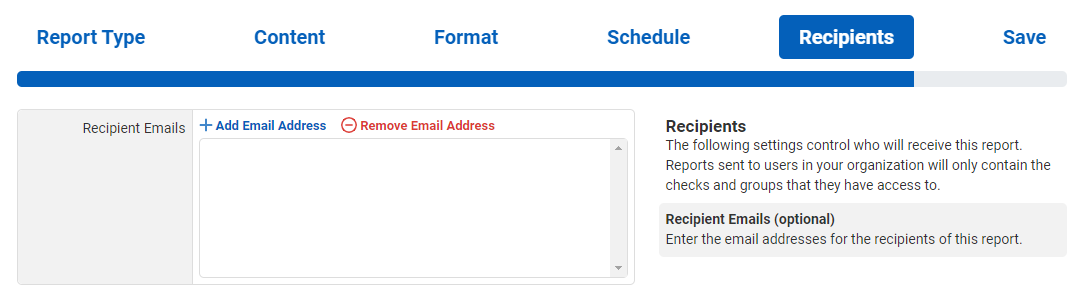
Under the Recipients section, add the email address(s) that you want the reports to be sent to. By default your account email will be listed. You can add multiple emails if needed. Select Next.
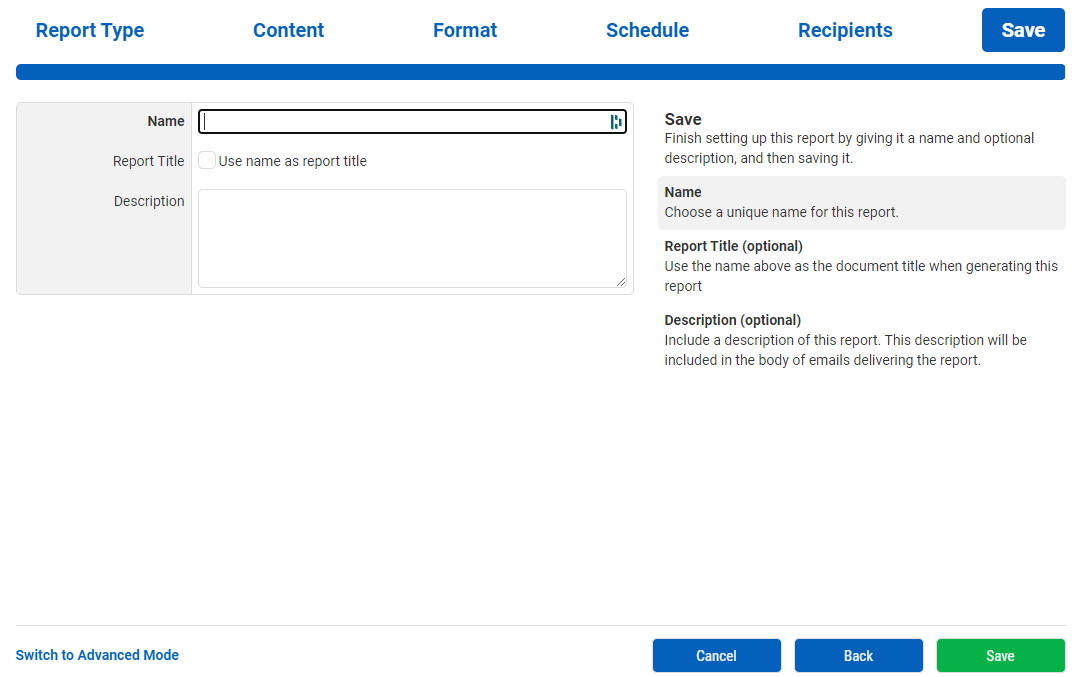
Lastly is the Save section. Here you can name your report settings for future purposes, as well as, add a description or notes. After this is completed select the Green Save Button in the bottom right corner.
Your Scheduled User Report is now set up and will send out reports for your chosen settings! If you would like to set this up for your clients feel free to check out our other Knowledge Base Article.
If further assistance is requested or required, feel free to contact us at Support@servosity.com.